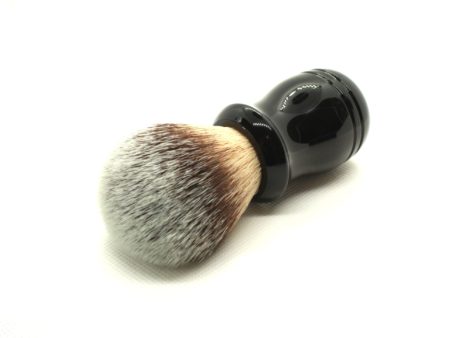
What good is a premium shaving brush if you don’t take proper care of it? And who wants to shave with a dirty brush? Keeping your shaving brush clean and ready to go for the next shave can help keep your skin clean, clear, and healthy. Taking the time to give your shaving brush a little TLC after every shave will make a huge difference.

Cleaning your shaving brush only takes a few minutes. Read on for some simple steps for cleaning your shaving brush to make the process even easier.
Table of Contents
Step 1: Pre-Rinse
Run your brush under warm water and gently massage the bristles with your fingers until the water runs clear without any soap or suds. This step is easiest if you’re cleaning your brush right after using it. If your brush sits and air dries, then the soap will dry along with it, creating a stiff, hard-to-remove residue.
Step 2: Soak
Next, prepare a 10 percent solution of a mild acidic solution. Although you can purchase some solutions in the store, there are also some DIY recipes involving some basic household products.
Some household acids you can use include:
- White vinegar
- Apple cider vinegar
- Lemon juice (You only need 2 percent. If you choose to make a lemon juice soak, use 10 percent.)
For best results, use distilled water. Tap water can contain minerals that eventually harden and become hard-to-remove residues on your brush, which is what you are trying to clean and remove in the first place.
Pour this solution (preferably warm or hot) into a bowl, and let your brush soak for 10 minutes.
Step 3: Scrub
Pour warm water in a separate bowl with some mild soap. Be sure to use mild soap rather than dish detergent or surface cleaner. This is because most shaving brushes are highly sensitive to harsh detergents and can disintegrate over time from the damage.
Some safe soaps include:
- Castile soap
- Sulfate-free baby shampoo
- Fels-Naptha
If you’re using a bar soap, such as Fels-Naptha or castile, then wet the brush with warm water and gently swirl it on the surface of the soap until it is full of suds. This can take a minute or two, so be patient (and vigorous).
If you’re using baby shampoo, then a drop in a bowl of warm water is all you need. Swirl the brush directly into the water until it becomes soapy.
Now, use your hands to work the bristles gently, paying attention to any spots where you notice soap scum or debris on the bristles.
Step 4: Post-Rinse
Rinse under warm water until the soap disappears. Now, your brush is clean and ready to dry until next time! Be sure to allow enough airflow for drying when you put your brush away.
Step 5: Sanitize (Optional)
Not everyone keeps sanitizer on hand for their shaving implements. (If you don’t, then you should…) Anything that touches your face can harbor bacteria that you don’t want getting on your face. Bacteria can cause acne, infections, and dermatitis. A quick dip is all you need.
Some good products include:
- Isopropyl alcohol
- Barbicide
Avoid bleach or boiling water. Both can damage your brush!
A Clean Brush Means a Clean Shave
This is the basic routine for cleaning a shaving brush, and truly, you don’t need to do more than that. But if you decide that your face deserves a little more (and of course it does!), then there are various accessories available to make the cleaning process even easier.
Remember, a clean brush means a clean shave, and clear skin!

